I am quite excited about June as I get to be hostess at
52 {Christmas} Card Throwdown.
As always we start with a sketch and, although I didn't have it in mind when I designed it, this sketch reminds me of a gift, beautifully wrapped beneath the Christmas tree.
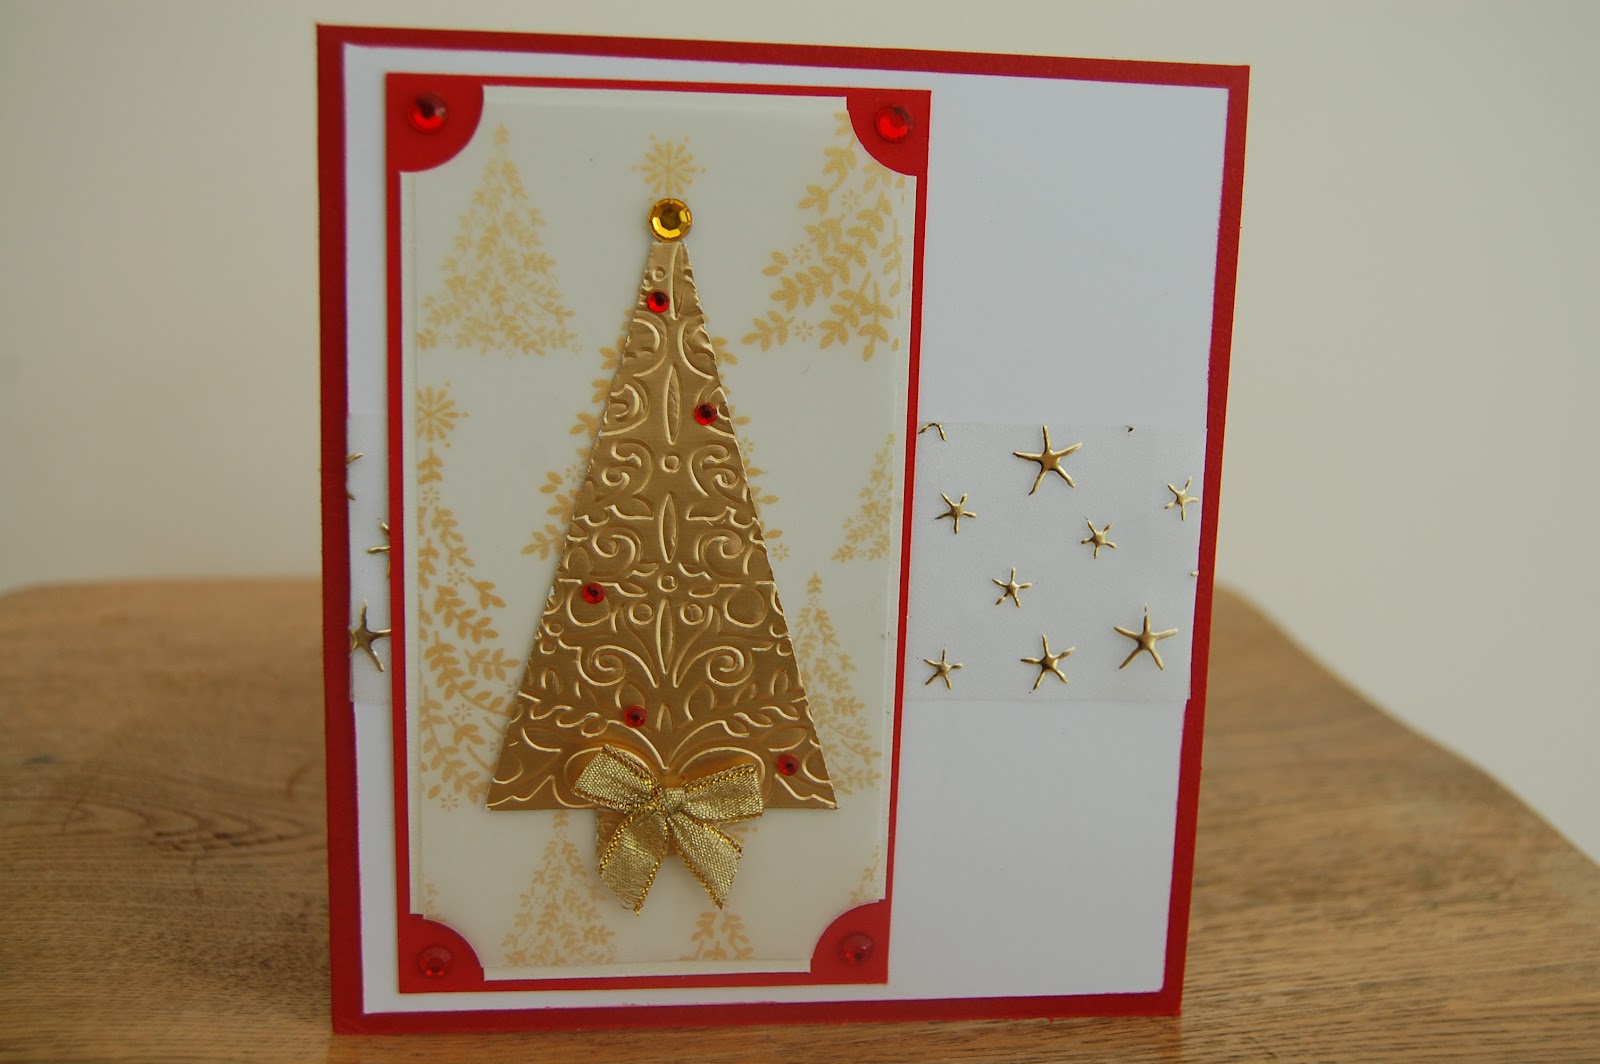
So, this is my card, a gift in pale blue and silver. I've used two ribbons, glitter paper, an antique pearl brad, a tag and some freebie DP. I heat embossed the stamping on the tag to help match the colour on the paper. I have tweaked the sketch a little, which you are welcome to do too. For a start I've used a square, then my shape has slipped down and become a tag, switching places with the bow. Finally, I put my sentiment on the tag after agonising whether or not to put it exactly in accordance with the sketch.
I managed to take the pics outside so the colours are quite true.
I am going to enter my card in the Anything Goes challenge at
Completely Christmas, unfortunately I forgot to enter for the last couple of weeks, just too much going on, but it's a great challenge blog for anyone making Christmas cards. I'm also going to enter the Ribbons and Bows challenge at
CSAYL, as I think it would fit perfectly, and
craftyhazelnutschristmaschallenge for June.
Please do visit the challenge blog and see the marvellous creations that my fellow DT members have come up with and please add yours, I can't wait to see them all...Christmas in June....Bring it on!