Showing posts with label The Male Room. Show all posts

Wednesday, 17 August 2016

Swirly Whirly Hippyy Card

At The Male Room, a challenge blog for masculine cards and projects, we have a fun technique challenge starting today,


I have done this a few times, but I don't have many reinkers, so when I found out you could use food colouring instead I was up for it. I also make a few sheets while I'm there to store away for another time as you can keep going with the same foam, getting a slightly different pattern each time. I have used mine as a background for a bold sentiment
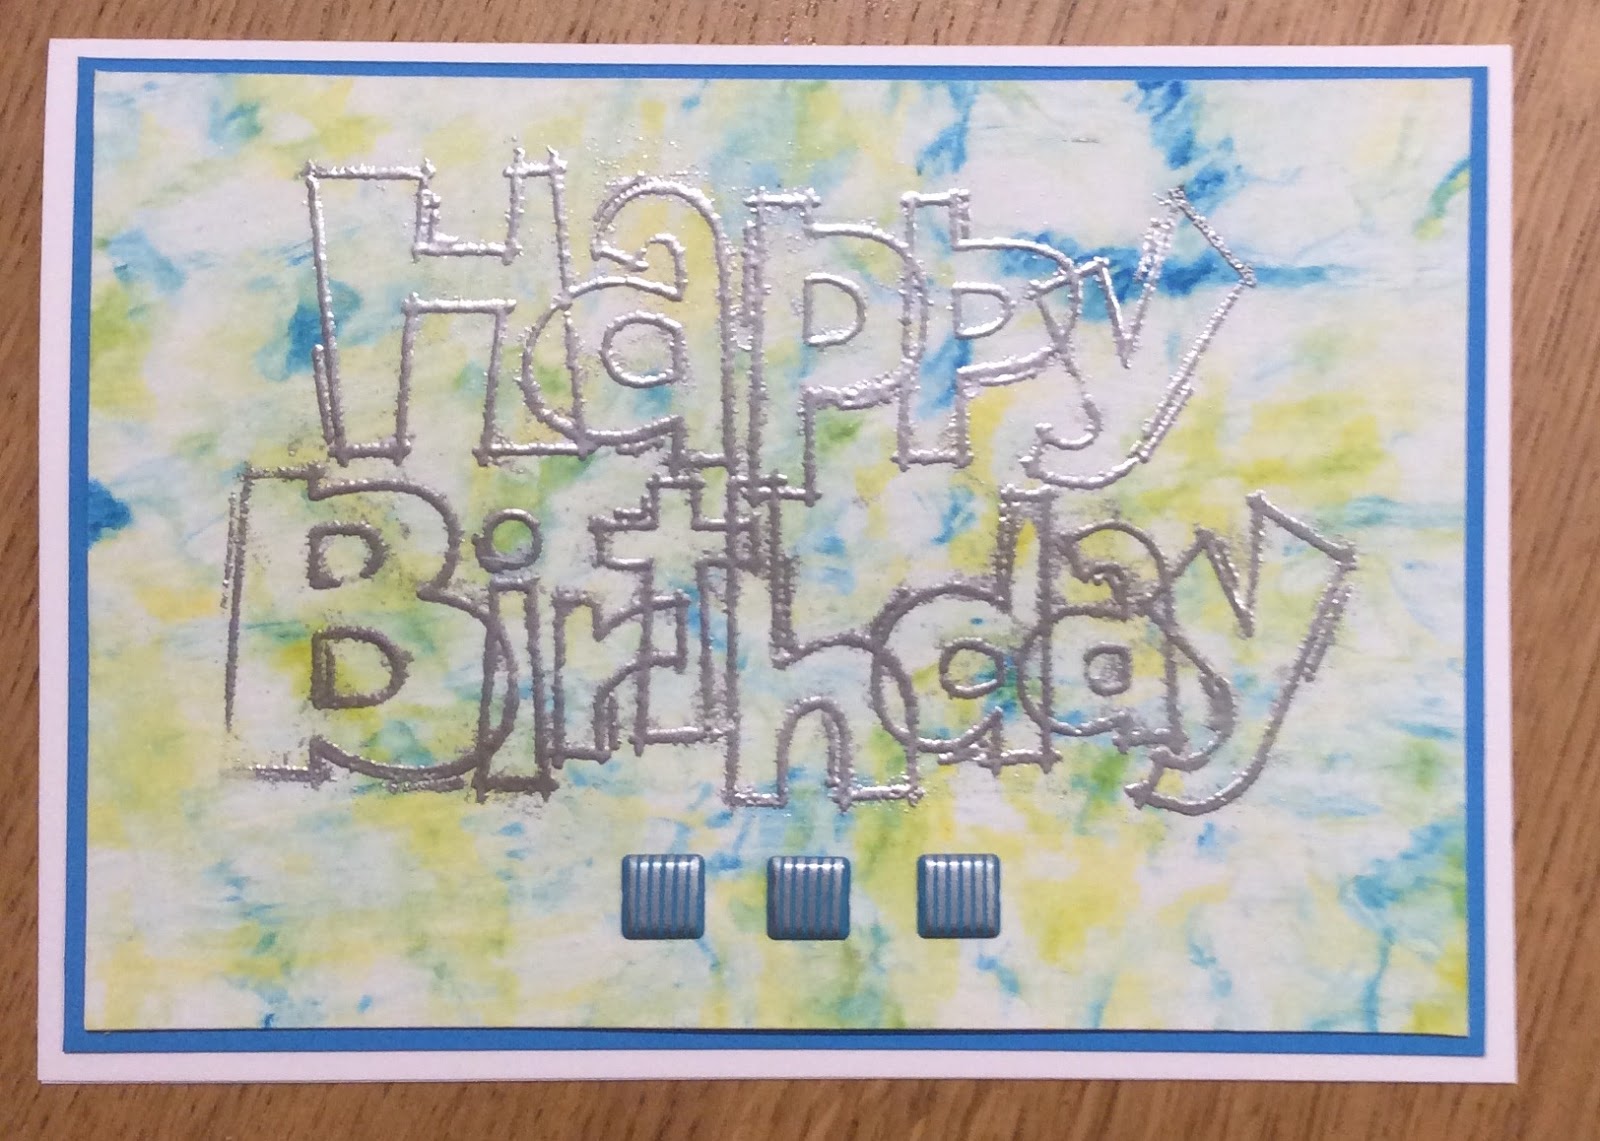

The squares at the bottom are square, metallic brads. They remind me of cuff links and are great for a bit of bling on a masculine card. I bought them awhile back in Michaels, on one of my holidays and only have two more sets of 3 left 😞
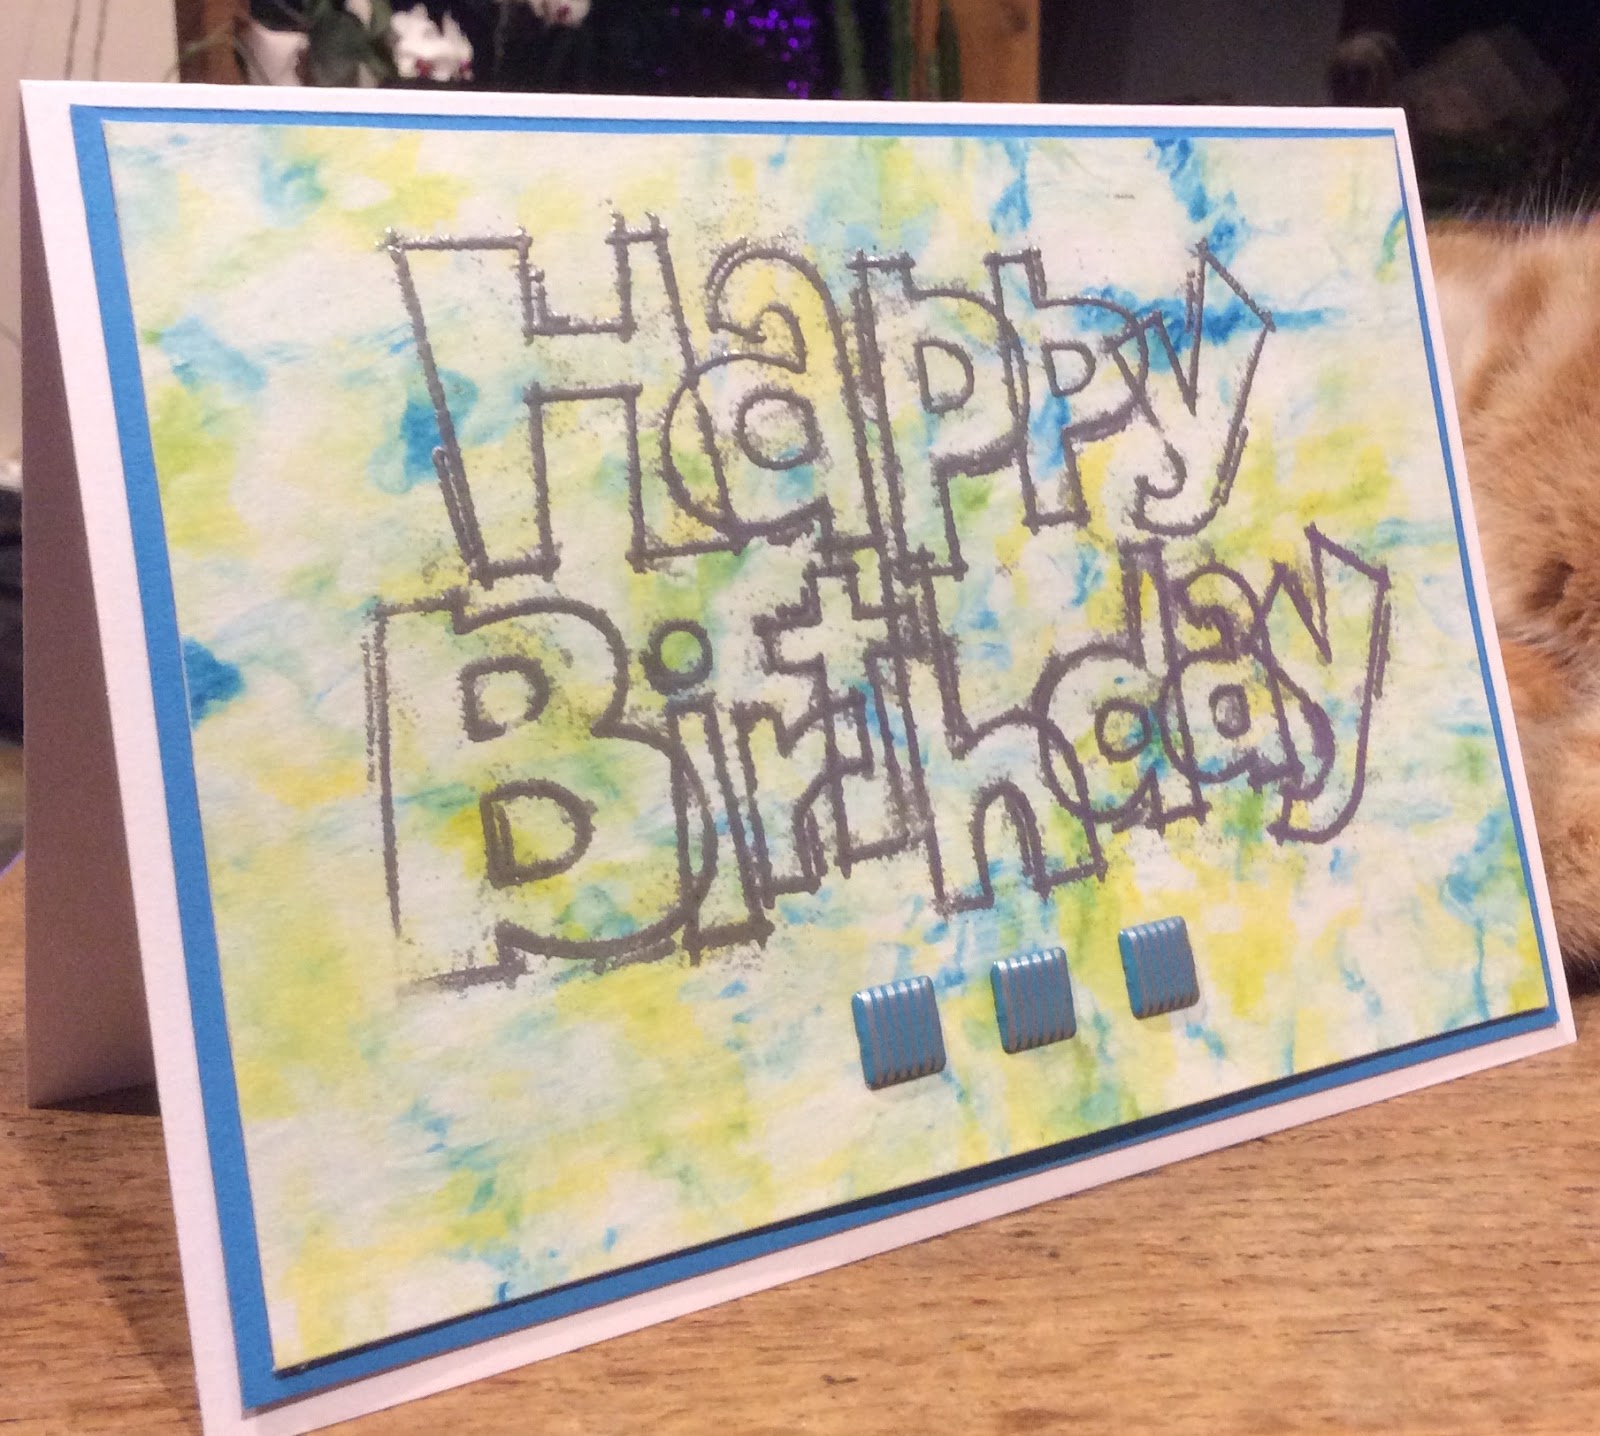

I stamped the sentiment in Versamark before heat embossing in silver. Now, here's a thing; the embossing did not come up all crisp as I always prefer, oh no, it canme up a bit fuzzy. I am not sure why, as I had made the background the day before and it was completely dry. I had tried to brush off some of the excess


You will see what I mean in the close up shot above. But, in this case, I think it goes with the swirly whirly background, like a hippy tie die T shirt, if you know what I mean..
The others on the DT have made some fantastic cards using this fun and easy technique, Ian sure you will too. Tragically, I ripped the stamp when removing it from the block, so this is probably my last card using the image. Shame, as I haven't had it very long and I liked it particularly for masculine cards.

Wednesday, 6 July 2016

Masculine Flowers

This will be my last post for a few weeks as, during the rest of July and the beginning of August I will be on holiday with my family in Australia- yes, all 5 of us on Walkabout! Getting excited now, but I was also excited about the challenge this morning at The male Room.

Wowser! How to do that?
With DP of course! My coordinating papers come from a Rosie's Studio collection called East Meets West and it's perfect for this challenge.
The photo is accurate, the background colour graduating as you move diagonally downwards. There is a name for this, is it ombré? Anyhow, I cut the panel, mounted it onto red CS to accentuate the fine red detail in the flowers.


Next I added a banner, stamped using Thoughtful Banners and punched out with my new banner punch (could be Best Buy ever!) I also added two little red hearts, using the Owl Builder Punch.


Popped the banner up on foam pads. I then carried on decorating the inside of my card with another paper from the East meets West collection. I used the little white mat so that you can write your message


Finally, a third DP was used to decorate the envelope inside.


I am so pleased with how this turned out. The dark colours fit the sentiment well (I did think of going with a sympathy card, but this is better) and the fact that the three papers come from a set mean that they truly coordinate.
Hope you have as much fun with your masculine flower card as I did and see you in a month or so!

Wednesday, 22 June 2016

Buttons!

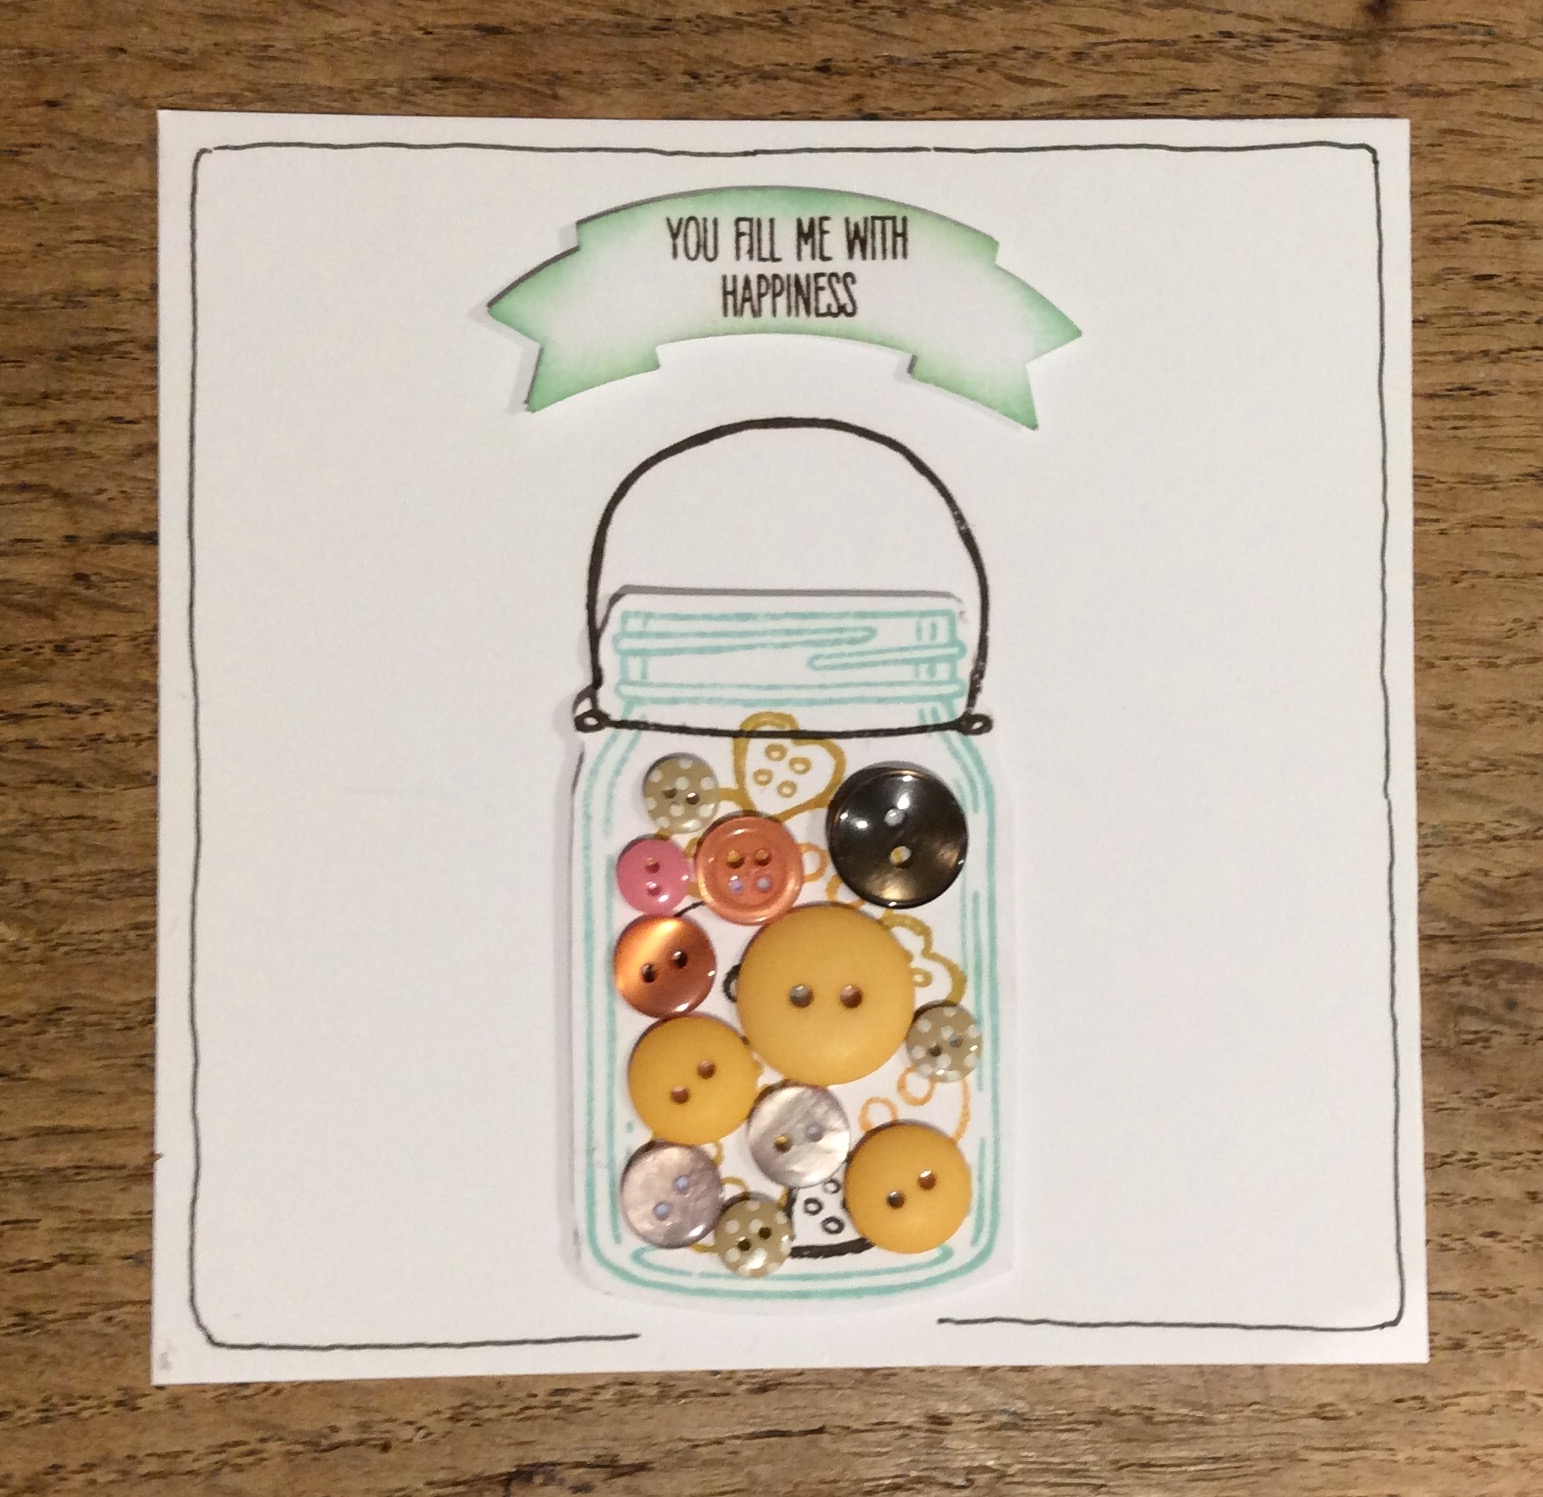
Buttons! And this time for a masculine card for the new challenge at The Male Room


This was a chance to play with new stuff again, this time the set Jars Of Love. I can see loads of ideas for this set but here is quite a straight forward one with a sentiment which I think a man would appreciate

After stamping the jar and cutting it out I stamped a few button images to add background to my real buttons. I used my new banner punch too, love the crisp edge I now get on my banners when I don't have to hand cut them out. The sentiment fitted just nicely and I sponged the edges to lift the banner a little.


I stamped the handle of the jar across the jar image and then matched it up against the same image stamped directly onto the card front. Finally, I added a hand drawn border.

By the way, this is Buttons in our family, a lovely old gentleman, once the children's pony, now happily retired for the most part, except for the odd occasion when I hitch him up to the cart and he takes me for a spin along the country lanes


Wednesday, 11 May 2016

Happiness is a man on his Bicycle....

Just squeaked in with this one for The Male Room as I got carried away making a card for a swap challenge, which has taken me most of the day! Lucky I knew what I wanted to do. I have used one of my favourite colour combos, Kraft, red and white, usually reserved for Christmas cards, well, for me anyway. The theme this time is transport. Good one for me, I'm married to a transport modeller, a Dutchman, who is bound to like this card!


I am into using some of my older stamps and Pedal Presents doesn't come out of the box very often. The Happy die cut is from Hello You and the birthday is from Best Dad Ever.


I used my Stamp-A-Ma-Jig to make sure the cake was exactly in the right position.


I hope you like my CAS take on the theme. There is a DT call too, over at the challenge blog and we'd love you to join us, creating masculine projects (not just cards) fortnightly.


Wednesday, 27 April 2016

A Horse, A Horse....

New challenge at The Male Room this morning and I was quite excited about this one...so much to choose from. You will know, unless you have been hiding in a cave, that it was the 400 year anniversary of Shakespeare's death last weekend. Love his work or not he is still a huge influence in our lives if you are an English speaker as so many of his phrases are in daily use. I wasn't a fan until I started to see his plays, mostly in The Globe in London, a recreated Shakespearian theatre which is an absolute must-see if you are there. Now I try to go as often as possible. They are equally good in his home town of Stratford, which is much closer for me.
So, what to do? I went for a well known line from Richard III, "A horse! A horse! My kingdom for a horse!"  But, if you look carefully you might see "Out, damned spot! Out, I say!" From McBeth!


I wanted a good background for my galloping horses, and went for brayering. I am still very much an amateur at this technique but I watched a great YouTube clip which helped, the link is 
here 

After brayering the sand and sea/sky using Indigo Ink, Baja Breeze and Hello Honey and Crushed Curry I stamped the horse image in Early Expresso multiple times? The hardest decision was where to place the sentiment. Using a Stamp-A-Ma-Jig meant that I could look at it in several positions, I finally settled on the mid-page. 

My card is tent-fold and is quite big, A5 size. It will be for my Dad. To finish off I used a black mat and foam pads to give the image a lift off the front of the card, it was in danger of being just a little too flat.
I hope you enjoy the Shakespear theme, there really is so much you can do with it!


Wednesday, 13 April 2016

Triple stamped Wetlands

Today's new challenge at The Male Room Is a fun technique challenge, Triple  Stamping. This was one of the first techniques which I was shown when I first got into stamping and I still love it: it never fails to please.

I've combined two stamp sets, Gorgeous Grunge and Wetlands and I've kept to a fairly restricted colour palette with Lucky Limeade and Chocolate Chip, with some basic grey colouring on the adult goose.


The technique adds to the effect of the perspective, with the goose stamped on the uppermost card layer and the bird silhouettes stamped across the three layers.


I used a Kraft card base and have stamped the birthday greeting and another goose on the inside (should have photographed that as well I suppose). The stamping is done all in one go, after cutting the panels and placing them on top of each other. I have used narrow borders to separate the layers. 


The fun part is seeing them all line up. The edges which do not stamp clearly are somehow lost to give the finished card a clear image.
These cards work well for men as they are 'different' without being too fussy.


Thursday, 31 March 2016

Magic March Hares

With apologies to my teamies for being a day late, here is my card for the new challenge in The Male Room. The theme is magic or fantasy, and I did find this hard, particularly with a masculine slant.
Fairies are not really any good, I don't have any fantasy creatures or castles but I did think of something which I hope fits the bill. In past times in Britain I think hates were thought of as magical creatures. March is of course the time they seem to been seen most, "boxing' in the twilight. Here is my take on that, with no small thanks to a friend of mine, the queen of brayering, who made this image in much more detail and with much more skill than my offering as a picture.


I started by brayering the background in Indigo Island. Then I spritzed this while the ink was still a bit wet to get a starry night sky effect.
I die cut a large circle from matt silver card and carefully stamped the hares onto the edge.


They looked a bit as if they were floating in the sky so I grounded them with some grass stamped in the blue ink.I used a black layer and a long tall card blank. Card made in less than 10 minutes, time spent thinking about it 10 days!


 Below is a close up of the starry sky, complete with tiny touched of Sparkles liquid glitter. The stamps I have used are both magazine freebies.


No sentiment on this one. I will stamp something appropriate inside when I send it, as I think it would be good for a few different occasions.

Wednesday, 16 March 2016

Easter for Boys

One and a half weeks until Easter, so it seems appropriate that the new challenge at The Male Room Should be Easter for the men and boys. This card is the brother to one I posted a couple of weeks ago for a different challenge and it's definitely for the boys


I used a generic grass stamp and an egg from Nature Walk, which I fussy cut out, coloured and overstamped with the grass so that it looks like the egg is in the grass, not on top.


These two cute critters are actually felt stickers and the sentiment is from Delightful Dozen. You can see the egg on the grass better on the photo below. You can see my preferred style is CAS, even when going cute, which doesn't happen very often.


Easter is so early this year, but today with the sun shining, I can see the lambs in the field and the golden daffodils are brightening up my garden so I guess Spring is really here...hurray!


Wednesday, 2 March 2016

Park to National Park

Make it move! Paper engineering I like to think of it, these are some of the cleverest cards around, definitely beating anything you can buy, but they do often take a while to make. So, find some quiet time if you can and sit down and make one for this week's challenge at The Male Room. There re loads of ideas on the Internet, here is one I tried for the first time.


It's kind of like an unfolding present. Here I went for loads of texture and a theme of back to nature from the built up landscape. So, the front of my card uses brick and grass DP and a piece of guilded embossed card to look like metal, with a faux leather cover to the fold out bit. A town park in miniature.


And inside there are rocks and wood. I used a bold sentiment stamp from Delightful Dozen and left one panel bare for writing a message to the recipient.


Too arty? I am often looking for a theme these days to inspire my card making. I did have fun with this one and used up a few scraps, which is always good. If you want to try the challenge here it is


Wednesday, 17 February 2016

Back To Nature

ive called my post back to nature because I rediscovered an old stamp set of mine, Nature Walk. Haven't used it in ages, but today I need a masculine card for The Male Room and I always thought it made great cards for men. The challenge is keep your card monochromatic


I used shades of brown, specifically Kraft, which I used for the card base, and Chocolate Chip, which I used for the images.


For clean and simple cards I really like the feel of abstract colouring you get by stamping an image over a lock of colour


I used Chocoale Chip cardstock for a minimal border


And my final touch was a single feather stamped on the inside corner


I have to admit this was a 5 minute card, but sometimes that's just what you need. I certainly enjoyed revisiting an old favourite stamp set and teaming it up with a new one for a whole new look.

Wednesday, 3 February 2016

I Think I'm Turning Japanese.....

A little bit of zen going on my blog this morning, well, that was my inspiration for my card for The Male Room, where the new challenge is to create a masculine project inspired by the Orient.


I wanted to create a zen garden on a card


I used Adventure Bound DP to cover the front of the card. I blended various greens and blues to make the water and splodged on some water droplets to create rain drops on water effect. The two fish are from a magazine freebie set, as are the Chinese characters.


I added a touch of gold to the fish and some die cut leaves to overhang the 'pond'


The layers are black and gold and inside I have made a liner and stamped the greeting, with what looks like a Chinese or Japenese translation (it's not really, that would be very impressive!)
I used a sentiment from Wetlands, very appropriate!


Hope you get chance to play along and create something masculine and Oriental....think sushi, karate, samurai, lanterns, anything you like!

Wednesday, 20 January 2016

Boy's Birthday

Hi there! I was up early this morning to get my DT card ready for The Male Room. I had woken up with a few ideas running around my head and just had to jump straight out of bed and start crafting! It's a chilly morning too, frost, ice and fog here in Herefordshire.
I rarely make cards for children, there aren't any in our family at the moment, children are grown up, no grandchildren or great nephews or nieces around yet, so I was a bit stuck for stamps until I remembered Rev up The Fun.


I used a sentiment image which I must admit I have no idea where it is from or what it's called ( if you can tell me I'd be very pleased, as I would like to get this one). I used it a couple of years ago at a craft club workshop and stamped it a few times on different papers.


Then I cut a dark blue mat, paper pieced the letters and made a panel for the bottom. I heat embossed the car image to make it shiny.


I think this would be a good car for my sons when they were small. The both loved playing with their toy cars, building roads and sticking them up in the large plastic garage...happy days!